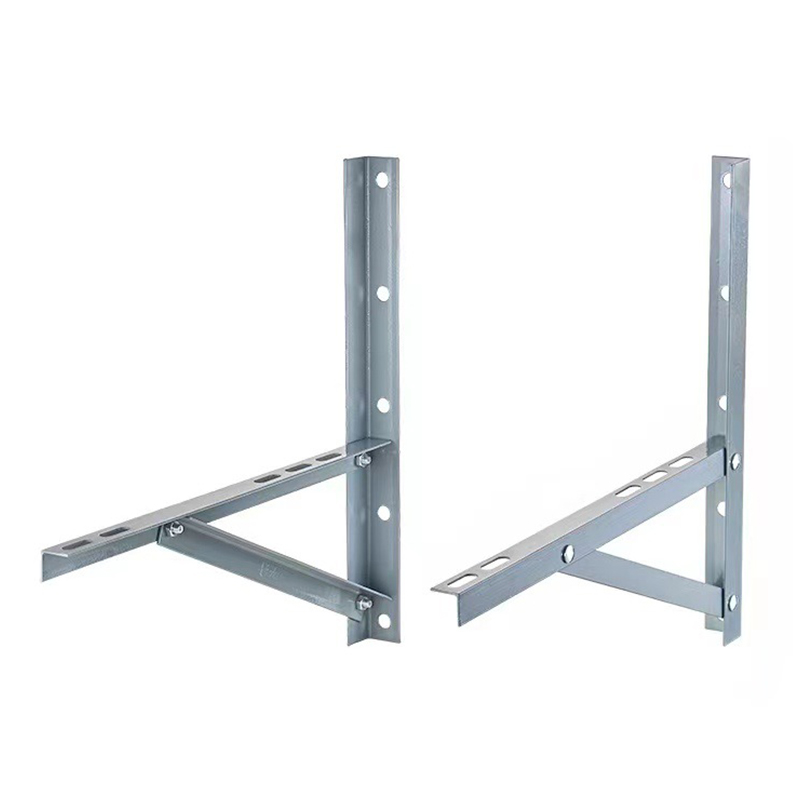
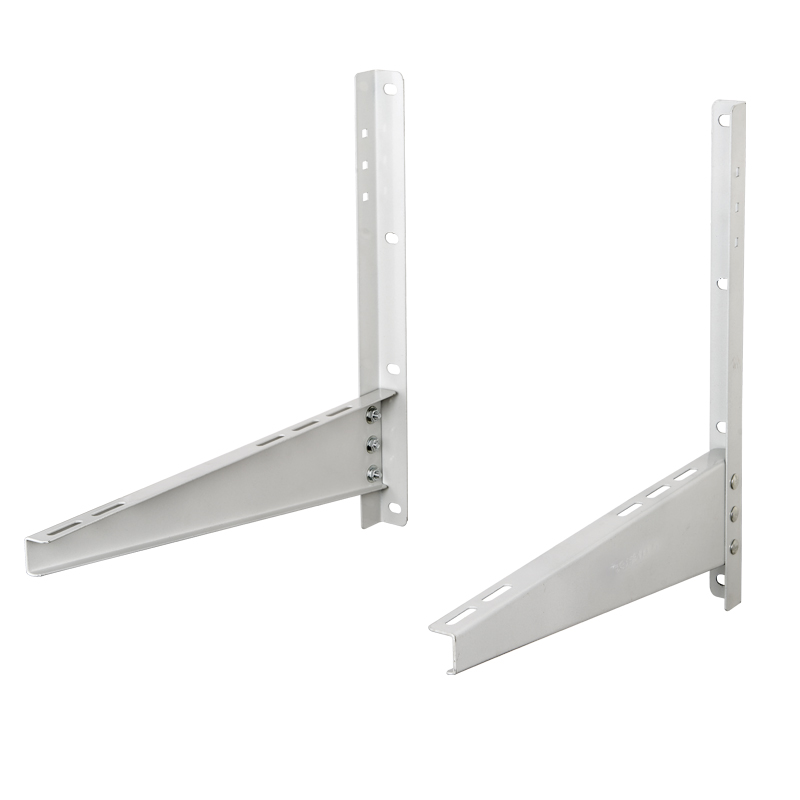
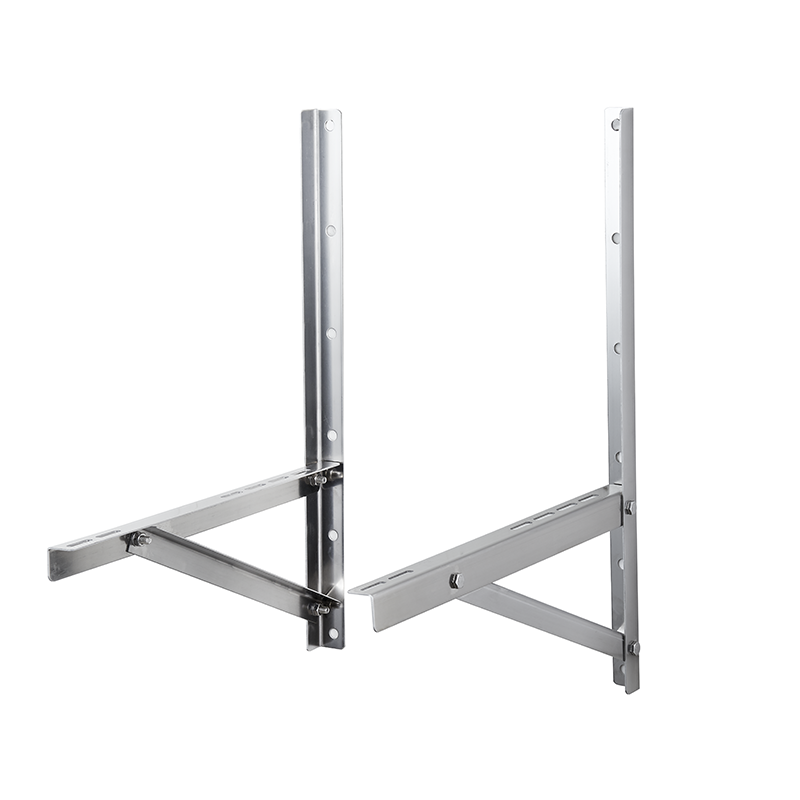
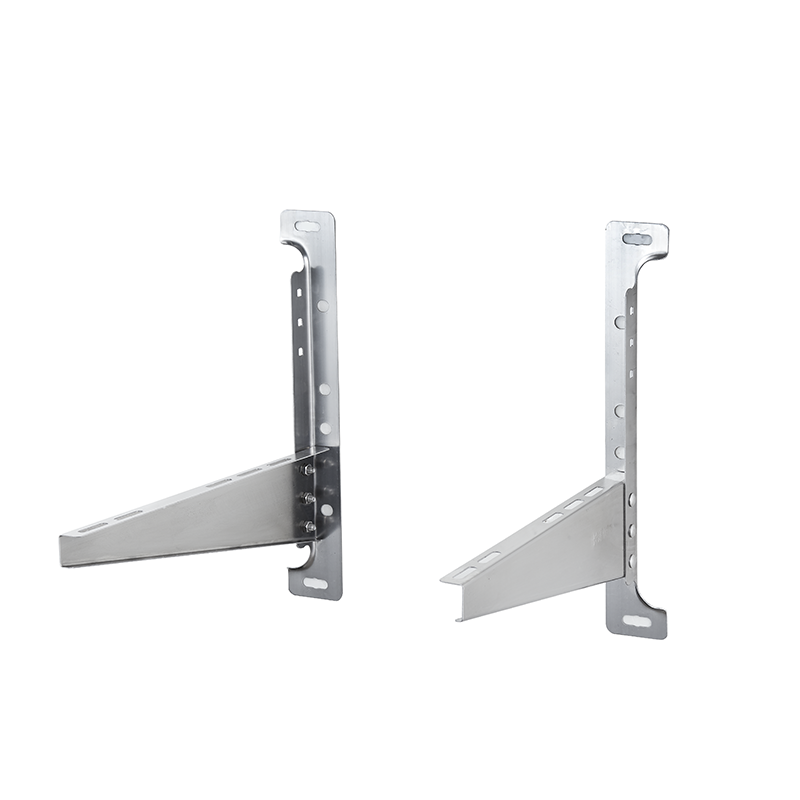
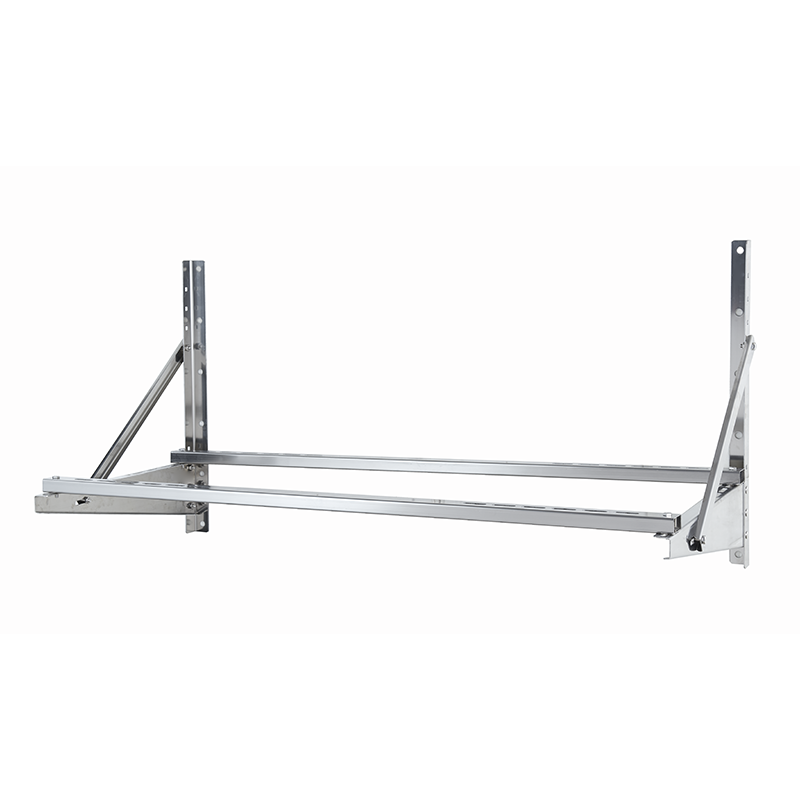
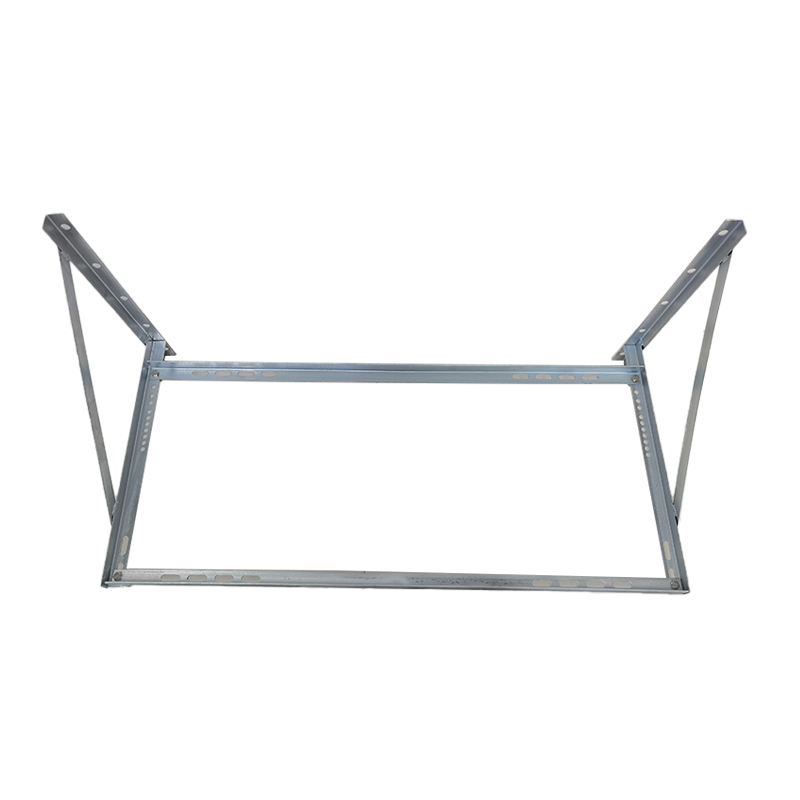
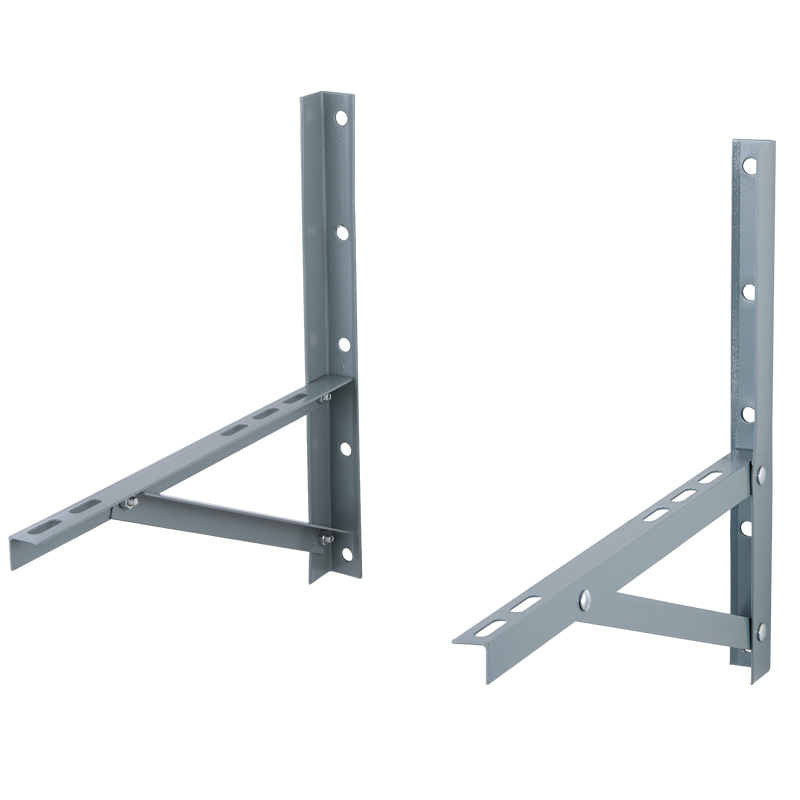
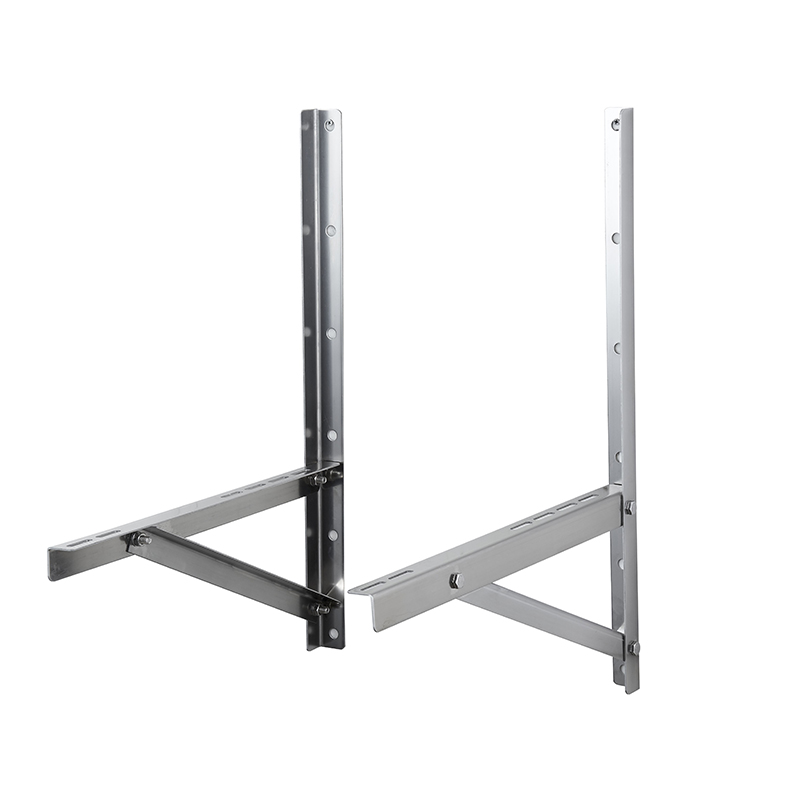
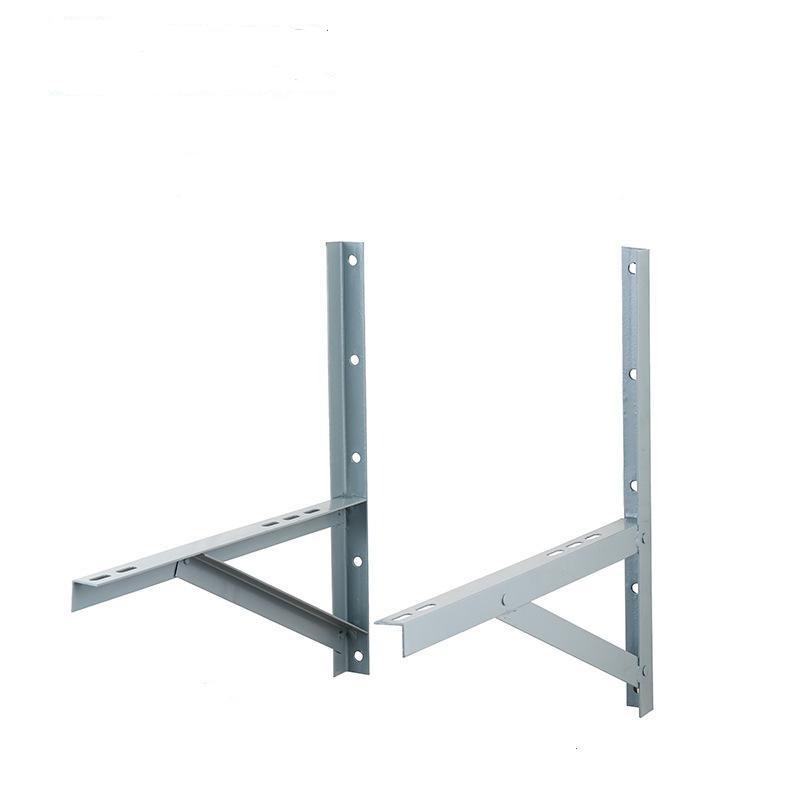
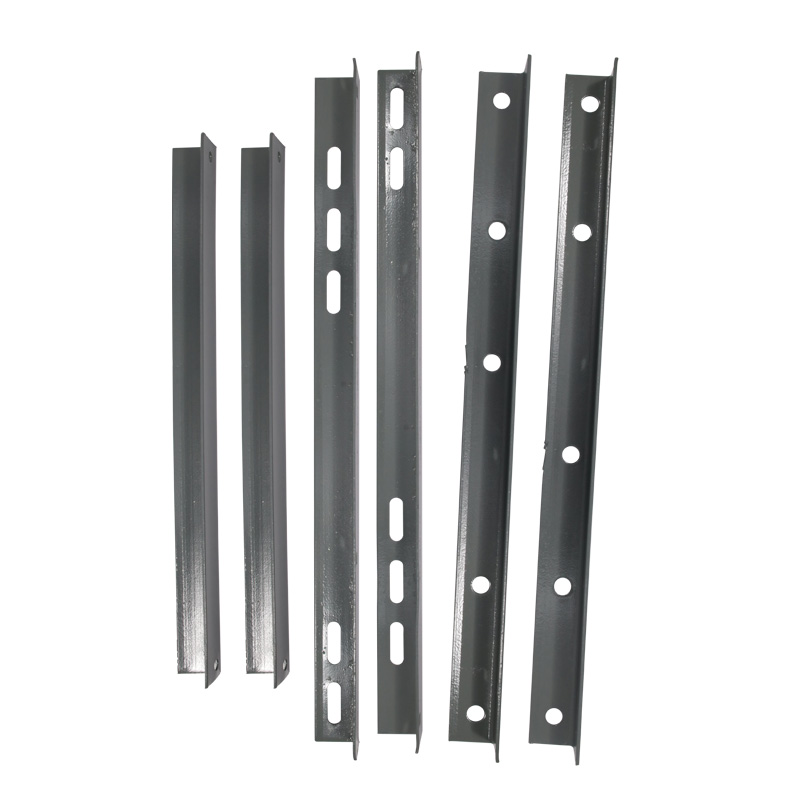
Features:
Material: Generally, corrosion-resistant and strong materials such as steel and aluminum alloy are used to ensure that the bracket can withstand the weight of the air conditioner outdoor unit and the influence of the external environment.
Applicability: AC unit support bracket is usually suitable for air conditioner outdoor units of different types and specifications, such as wall-mounted, window-mounted or mobile air conditioners.
Installation method: When installing the bracket, it is usually necessary to use bolts to fix the bracket to the wall or other supporting structure, and sometimes expansion screws are required to increase stability.
Protection function: The bracket can help the air conditioner outdoor unit maintain a stable position to avoid damage or influence on the equipment due to external factors such as wind and rain.
How to Choose the Right AC Mounting Bracket for Your Air Conditioner
1. Weight and size of the air conditioner outdoor unit
Consider the weight: When choosing an air conditioner mounting bracket, make sure that the bracket's load-bearing capacity is sufficient to support the weight of the air conditioner outdoor unit. The weight of the air conditioner outdoor unit is between 10-50 kg, so a high-load-bearing bracket needs to be selected.
Matching size: The size (length, width and height) of the air conditioner outdoor unit is different, and the bracket also needs to match the size of the air conditioner outdoor unit. The bracket should provide sufficient support surface to ensure that the outdoor unit is not too suspended or unstable.
2. Material and corrosion resistance
Choose corrosion-resistant materials: The air conditioner outdoor unit is usually installed outdoors and is easily eroded by factors such as rain, sunlight, wind and sand. The material of the bracket should have good corrosion resistance. Common materials include stainless steel, aluminum alloy and galvanized steel, which can effectively prevent rust and corrosion.
Material strength: A bracket with higher strength can withstand the weight of the air conditioner and the influence of the external environment for a long time, avoiding deformation or loosening.
3. Wall type and installation environment
Choose a bracket suitable for the wall type: According to the type of wall (such as concrete wall, brick wall or gypsum board wall), choose the corresponding bracket and installation method. If the wall is soft or not strong enough, you can use expansion bolts and other installation methods to enhance the bracket fixation.
Consider environmental factors: If the air conditioner is installed in a humid environment (such as the seaside or a place with a lot of rain), you need to choose a bracket with stronger waterproof and anti-corrosion functions.
4. Bracket adjustment function
Adjustable angle bracket: Some ac mounting brackets have the function of adjusting the angle, which can adjust the angle of the air conditioner outdoor unit as needed to ensure that it runs in the best position. This is very helpful for improving the performance of the air conditioner and extending its service life.
Height-adjustable bracket: If the air conditioner outdoor unit needs to be installed in a higher position, you can choose a bracket with height adjustment function.
5. Bracket installation method
Bracket fixing method: Different types of air conditioner brackets have different installation methods. Some brackets are fixed to the wall with screws, while some brackets can be hung directly on the wall, which is suitable for different installation needs. When choosing, you need to ensure that the bracket installation method matches the installation environment to ensure stable and firm installation.
Ease of installation: Choosing a bracket that is easy to install can reduce the trouble during installation. It is best to choose a bracket that comes with an installation guide and complete accessories to avoid the lack of necessary accessories later.
Installation Guide for Installing air conditioner mounting bracket
Step 1: Determine the installation location
Make sure to choose a well-ventilated location and avoid installing it in direct sunlight or humid areas.
The air conditioner outdoor unit should be away from obstacles to ensure air circulation and avoid installing it in a too narrow place.
Make sure that the drainage pipe and connecting pipe of the air conditioner outdoor unit can be connected smoothly.
Measure with a tape measure and level:
Measure the height and width of the air conditioner outdoor unit installation to ensure that the bracket can be firmly installed on the wall.
Mark the installation position of the bracket with a pencil and ensure that the bracket is level.
Step 2: Install the bracket
Clean the wall to ensure that the wall is flat and free of dust or debris. If it is a brick wall or concrete wall, check whether the wall is solid.
Measure and mark the drilling position:
According to the mounting hole position of the bracket, use a tape measure and pencil to mark the drilling position on the wall. Make sure that the hole spacing is aligned with the bracket hole position.
Drilling:
Use an electric drill and a drill bit suitable for the wall material to drill holes at the marked positions. If the wall is a soft material (such as gypsum board), expansion screws are required to increase the stability of the bracket.
For stronger walls (such as brick or concrete walls), choose a larger drill bit to install expansion screws or ordinary bolts.
Insert expansion screws or other fixings:
Insert the expansion screws or ordinary bolts into the drilled holes and make sure that the fixings are firmly embedded in the wall.
Step 3: Install the air conditioner bracket
Align the mounting bracket with the drilled holes on the wall and align the mounting holes of the bracket with the expansion screws or bolts.
Use bolts to fix the bracket to the wall. Make sure the bolts are tight, but not too tight to avoid damaging the bracket or the wall.
Check the level of the bracket:
Use a level to check whether the bracket is level. If the bracket is not level, you can make slight adjustments to ensure that the installation angle of the air conditioner outdoor unit is correct.
Step 4: Install the air conditioner outdoor unit
Place the air conditioner outdoor unit on the already installed bracket. Make sure that the bottom of the outdoor unit is in flat contact with the bracket.
Fix the outdoor unit:
Use bolts and fixing clips to fix the air conditioner outdoor unit to the bracket. Depending on the model of the air conditioner outdoor unit and the bracket design, you may need to use special fixings to ensure the stability of the outdoor unit.
Make sure the outdoor unit is level and stable without moving or shaking.
Step 5: Connect power and pipes
Connect the condensate drain pipe to the drain interface of the outdoor unit correctly.
Make sure the drain pipe has an appropriate slope so that the water can drain smoothly.
Connect the power cord:
According to the installation manual of the air conditioner, connect the power cord correctly. If you are not familiar with electrical operations, it is recommended to ask a professional electrician to connect the power.
Step 6: Test the air conditioner
Check whether the air conditioner outdoor unit is fixed firmly and make sure that the bracket is not loose. Shake the outdoor unit to confirm that it does not shake.
Start the air conditioner:
Start the air conditioner and test it to check whether the outdoor unit is operating normally and make sure there is no abnormal sound or instability.
Observe whether the cooling effect of the air conditioner is normal and check whether the drainage is smooth.
Step 7: Safety inspection and maintenance
Check the fixings and bolts:
Check the bolts and fixings on the bracket regularly to ensure that they are not loose. If there is any looseness, reinforce it in time.
Clean the outdoor unit and bracket:
Clean the dust and debris on the air conditioner outdoor unit and bracket regularly to maintain a good heat dissipation effect.

